Your engagement photos freeze a very real version of you at a very special moment.
That’s exciting and a little intimidating when you realize how every tiny detail will live in those images for years, especially your skin. You’ve probably seen friends whose flawless, camera-ready glow looks like them on their best day, and others where the tan is the only thing you can see.
At the same time, you’re juggling work, travel, outfits, hair, makeup, and your photographer’s calendar. A professional sunless tanning session can quietly pull everything together or work against you if it’s too dark, too orange, rushed, or uneven.
This guide walks you through how to plan a spray tan for engagement photos, from timing and shade depth to skin prep, aftercare, and what professional photographers notice on camera. The goal is simple: a radiant, photo-ready glow without last-minute sunbathing or UV exposure.
How an Engagement Spray Tan Shows Up on Camera
The right engagement spray tan should make you look like you on a very good day, not like someone else entirely.
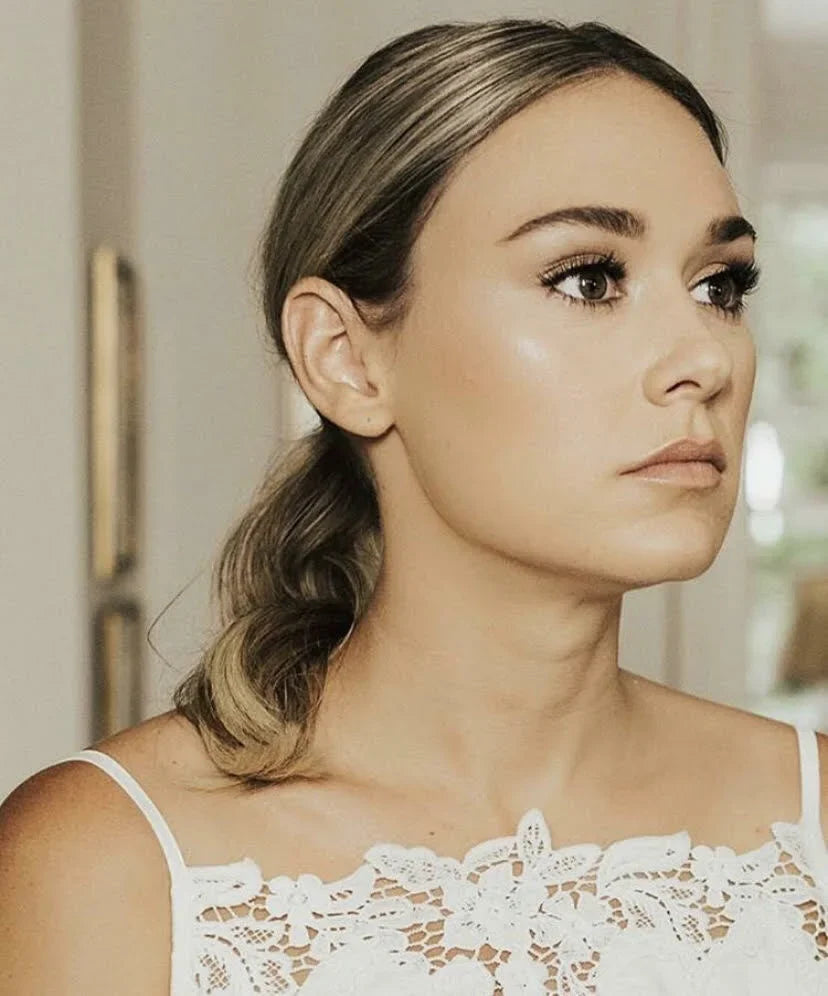
A soft, even glow smooths out little color differences, makes tired skin look more awake, and helps your face, neck, and body feel cohesive in close-ups and full-length shots.
Photographers who shoot engagement sessions all the time tend to love that kind of subtle, settled color because it lets them focus on posing and light instead of fixing mismatched skin tones in every frame.
Because sunless color only lives in the top layer of skin for a few days, timing and subtlety matter. Once the goal is a skin-first natural glow, not a brand-new identity, every other choice gets easier.
At goGLOW, that skin-first approach is the point. Your specialist can look at your natural skin tone, your comfort level, your photo timing, and even your outfit colors before choosing a custom depth and undertone. That matters for engagement photos because the best glow should support the whole image, not become the first thing people notice.
Best Timing for a Spray Tan Before Engagement Photos
For most brides and grooms, the sweet spot for scheduling a spray tan appointment before your engagement session is one to three days prior to your photoshoot, with day two often showcasing the most natural glow.
This timing allows your color to fully develop, giving you a natural skin tone that looks balanced and beautiful in your engagement pictures.
By then, the spray tan shade has settled, ensuring a soft and consistent great skin tone across various lighting conditions during your photography session. This consistency can make editing smoother and more flattering in the final images your photographer captures.
Consider your personal schedule as well. You want to avoid intense workouts, saunas, or any activities that might affect your tan, like sweating or wearing tight clothes. Same-day tans should generally be avoided as the color is still developing, which can lead to inconsistencies in camera shots and professional photos.
Engagement Photos Spray Tan Timing Guide
Here’s a simple timeline guide for your bridal spray tan:
- Same day: Emergency only. Color may still be developing, and transfer risk is higher.
- One day before: Can work for tight timelines, but may appear too fresh for very fair skin tones.
- Two days before: Ideal for most brides and grooms, providing a settled and soft glow.
- Three days before: Good for nervous first-timers or those with very fair skin, though the tan may start to fade slightly on areas like the face, hands, and feet.
At goGLOW, you can get advice on whether a standard Single or Rapid goGLOW appointment is best for your needs.
The Rapid option allows more flexibility in your post-tan schedule by adjusting your rinse time to achieve the desired depth of color, while a standard appointment might suit those with a more relaxed pre-wedding day plan.
How Dark Should Your Spray Tan Be for Engagement Photos?
On camera, a small shift goes a long way.
Avoid Going too Deep
A reliable rule is to stay within one to two levels of your natural skin tone instead of jumping several shades darker. That keeps you recognizable, makes it easier to match your usual makeup, and sits comfortably next to your partner’s skin tone.
Many photographers wish couples knew this, because extreme jumps in depth are what most often look distracting or artificial in high-resolution images.
While digital corrections can help, they don’t guarantee that the lighting and tone will match your partner’s or the rest of the people in the photo.
The Base is Fundamental, Of Course
Undertone matters just as much as depth.
Ask your spray tan specialist for a neutral or softly golden shade rather than something very red or very yellow, which is what tends to read orange in mixed light.
Balanced tones also give your photographer more room to fine-tune color in editing instead of trying to correct an extreme cast.
If you’re unsure, bring your everyday foundation to your appointment and say, “I like myself around this color; I just want my skin to look a touch more even and glowy everywhere else.” This is where a custom consultation helps.
Instead of choosing a shade from a generic chart, a goGLOW specialist can consider your natural tone, photo setting, makeup, wardrobe, and comfort level before applying color. For engagement photos, professional headshots, or family portraits, that usually means choosing the most believable version of your glow, not the darkest possible result.
Spray Tan Prep for Smooth, Even Photo-Ready Skin
Even the best solution will look patchy if the canvas underneath is rough or coated in products.
The 24–48 hours before your tan are about smoothing and simplifying: finish shaving or waxing at least a day ahead, gently exfoliate the night before, and arrive with clean and product-free skin. Those basics do most of the work.
A simple prep checklist looks like this:
- Shave or wax at least 8–24 hours before your appointment, not right before.
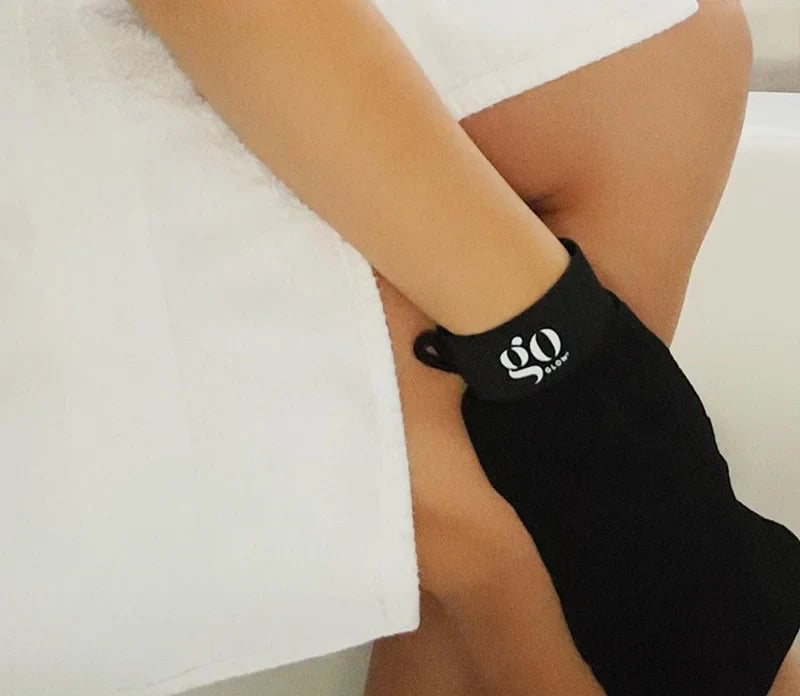
- Use a gentle exfoliating mitt 24–48 hours before, focusing on elbows, knees, ankles, hands, and feet.
- On the day of your tan, shower with a mild cleanser, like goGLOW’s own CLEANSE, and skip oils, thick body butters, deodorant, and perfume.
- While dry and oil-free skin is required, that doesn’t mean you shouldn’t moisturize. Use oil-free moisturizers, like goGLOW’s HYDRATE, to ensure you come in with hydrated skin that can better absorb the tanning solution.
These steps help your specialist apply an even, custom color that doesn’t over-grab in drier spots.
If you already have strap lines, a watch mark, or patchy old self-tan, point them out clearly before your session starts so they can be blended on purpose. If you have very sensitive or reactive skin, or you’ve reacted to sunless tanning products before, tell your specialist before your appointment and check with your dermatologist if you’re unsure.
This guide is aesthetic education, not medical advice.
Spray Tan Aftercare and Outfit Tips Before Your Photo Session
What you do right after your spray tan matters as much as the hour you spend in the studio.
During your specialist’s recommended development window (whether that’s a few hours for a rapid formula or overnight for a standard tan), aim to:
- Stay dry, cool, and comfortable, no workouts, swimming, or steamy showers.
- Wear loose, dark, breathable clothing so seams and waistbands don’t rub.
- Avoid sitting on light fabrics or bedding while the bronzer is still on your skin.
Once you’ve done your first rinse and the water runs clear, switch into maintenance mode.
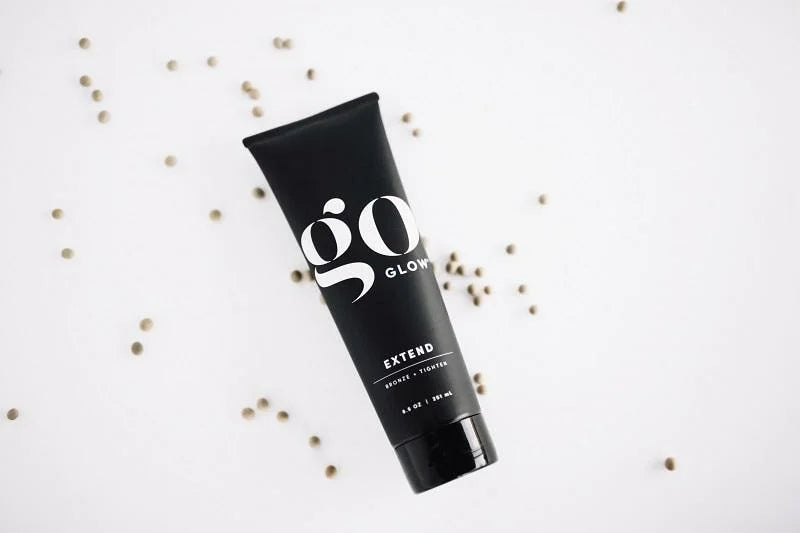
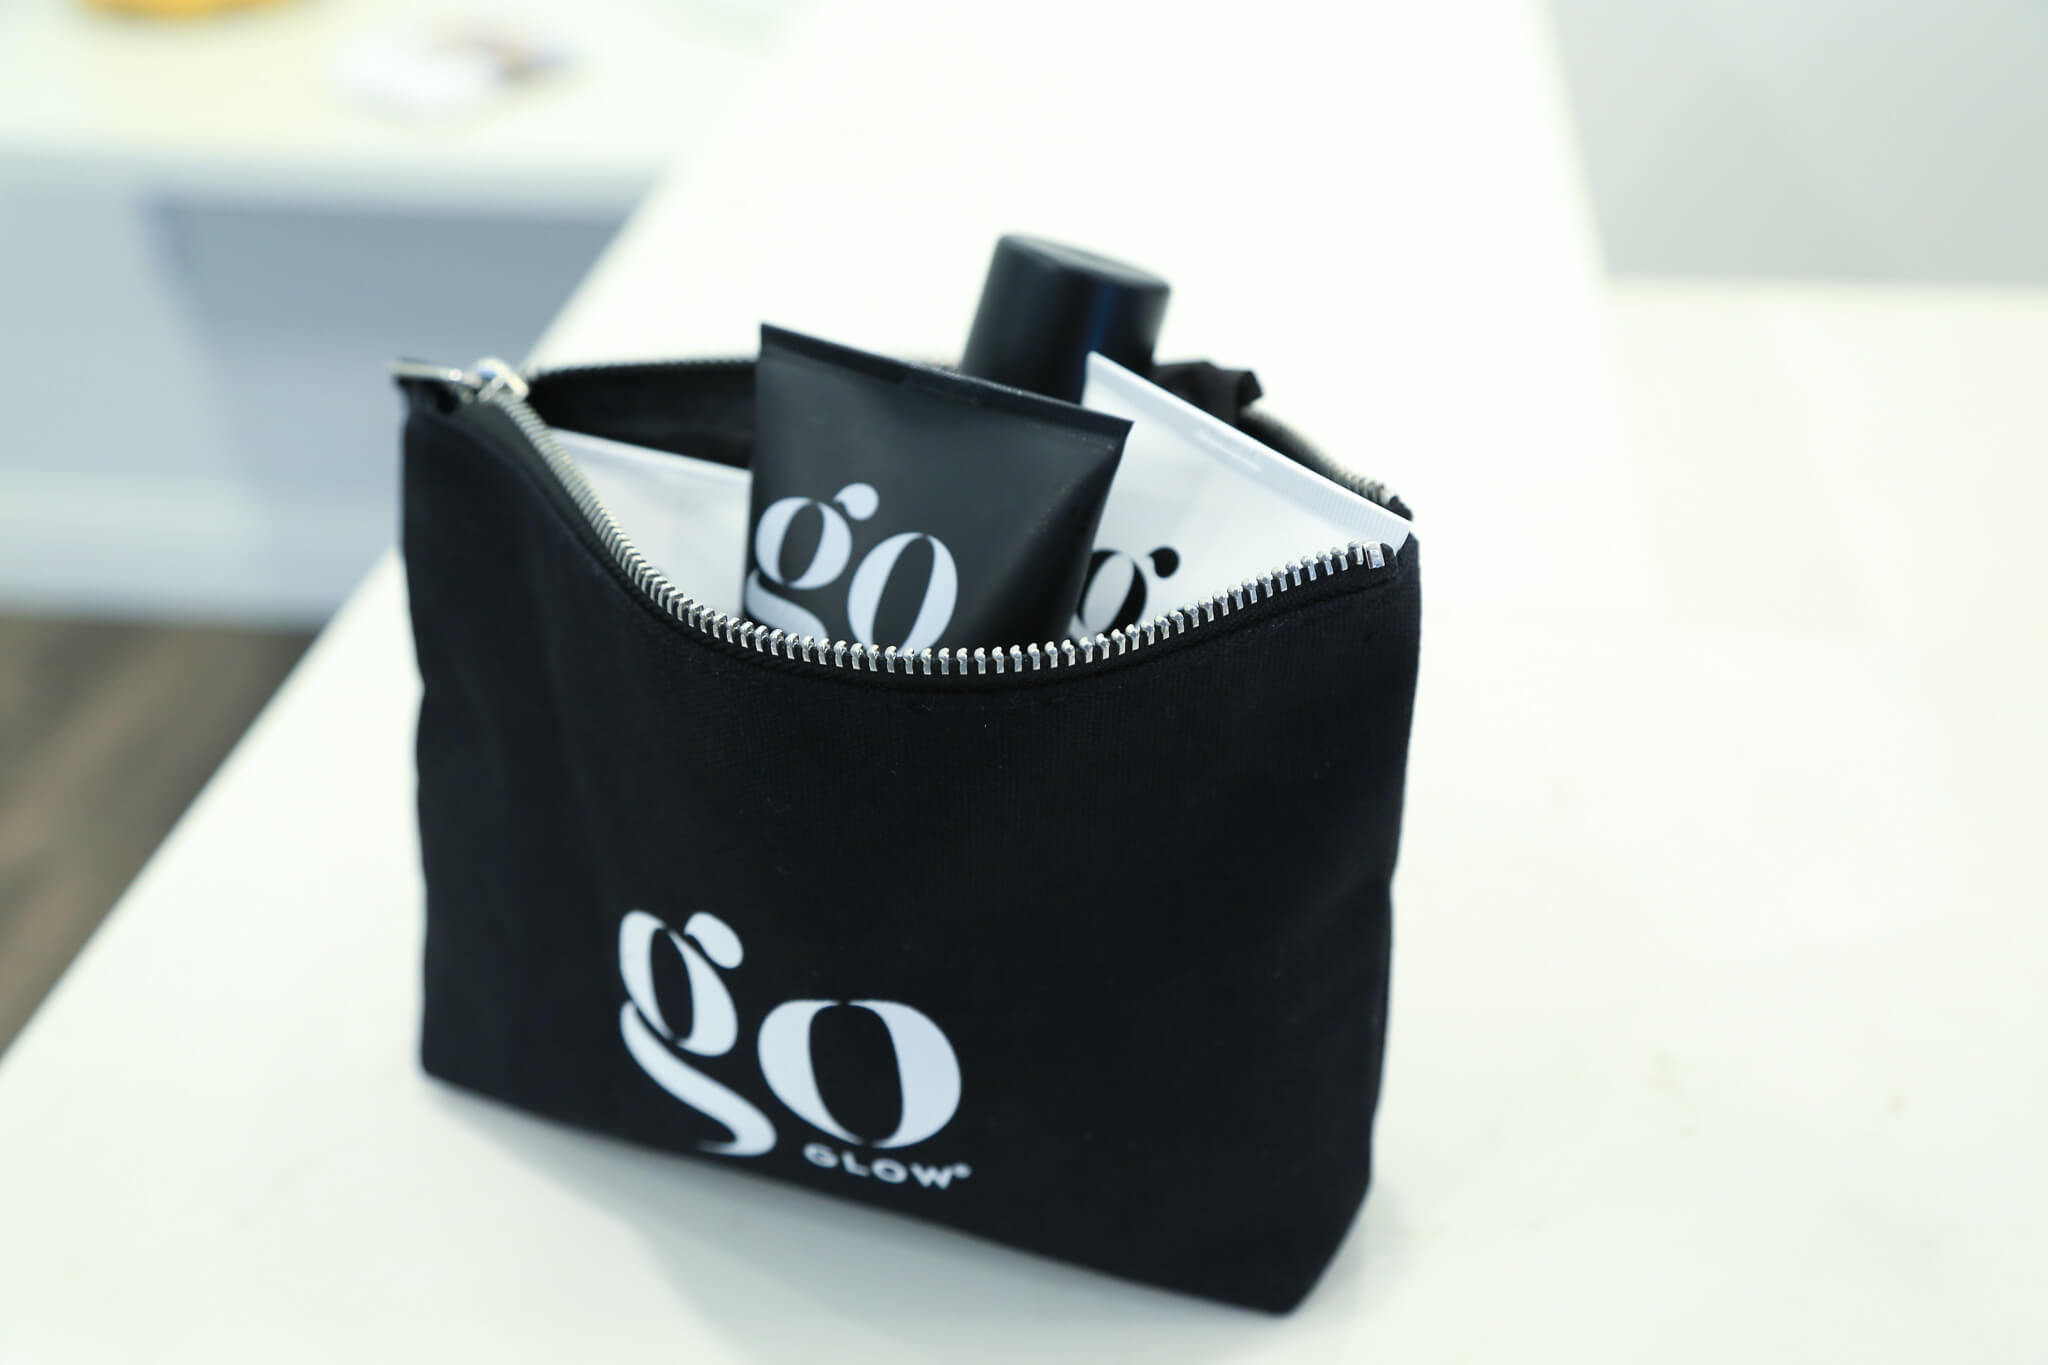
Use a gentle, tan-friendly cleanser and moisturize daily so the tan fades smoothly instead of in patches. goGLOW’s CLEANSE, HYDRATE, EXTEND, and TOUCH UP products are designed to support your glow between appointments, especially on areas that fade fastest, like the face, hands, chest, and feet.
In the days before your shoot, skip long hot baths, saunas, and pools if you can; heat and chlorine are the fastest ways to strip color, especially on hands, feet, and chest. Avoid rough washcloths, loofahs, or exfoliating gloves right before the session, too; they often create lighter patches that only show up once you’re in front of the camera.
What Photographers Really Notice About Spray Tans in Engagement Photos
Your professional wedding film photographer sees your skin through a very honest lens.
After shooting hundreds of engagement sessions, most can instantly spot when your hands are two shades darker than your forearms, or when your face doesn’t quite match your neck and chest.
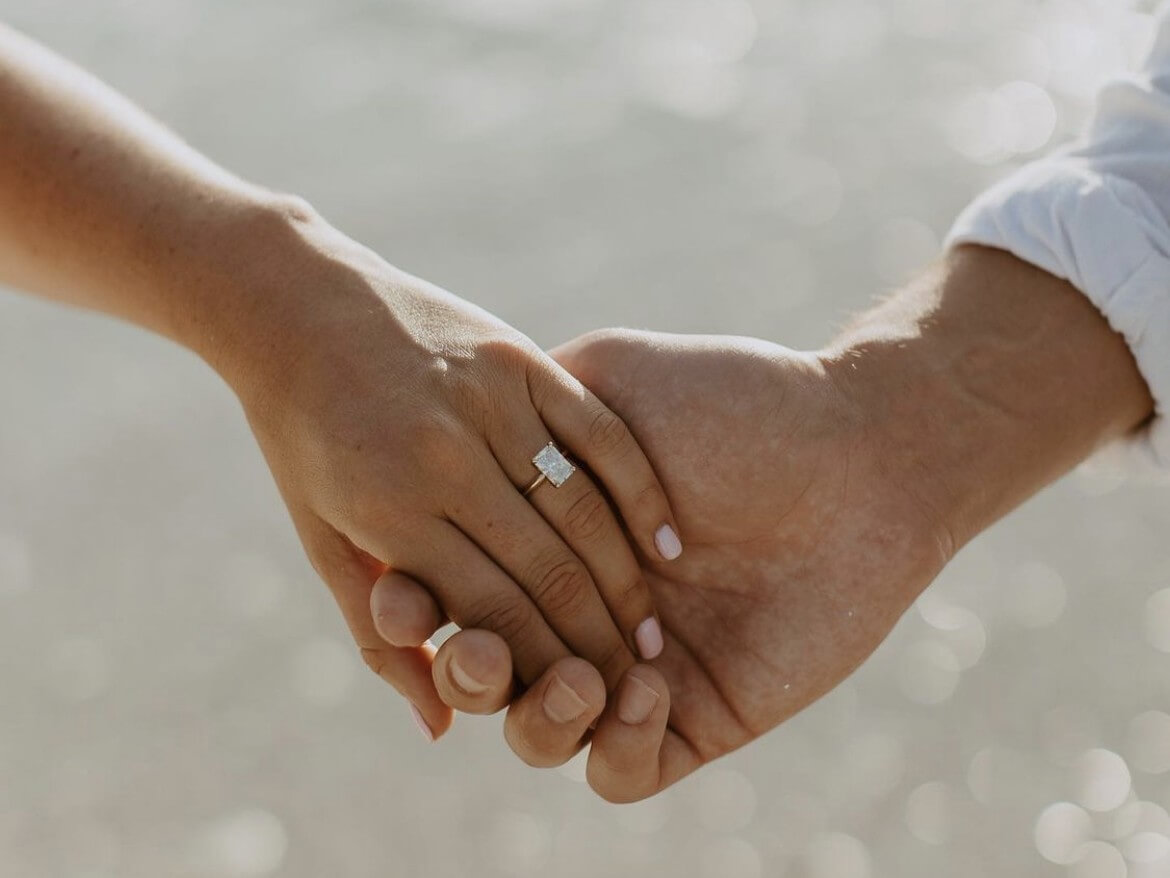
Those small differences become very obvious in close-ups, holding-hands shots, and any pose where you’re leaning in together.
They’re also watching how your tan interacts with light. A very warm, deep tan at golden hour can push your skin into “extra orange” territory; a heavy tan in cool shade or flash can look flat and dull.
Most photographers aren’t anti–spray tan; they just prefer subtle, settled color that doesn’t need fixing in every frame.
That’s why a natural-looking spray tan can help your skin tone look more even in close-ups, outdoor portraits, ring shots, and full-length engagement pictures. When you tan a couple of days before, choose a soft shade, and mention it to them ahead of time; they can plan locations, lighting, and editing that support the glow you’re going for instead of fighting it.
How to Build a No-Stress Bridal Glow Timeline for Engagement Photos
Instead of deciding the week of your shoot, treat your glow like you treat your hair and makeup: something you test once, refine, and repeat with confidence. For engagement photos, the goal is to know exactly how your spray tan looks on camera before the real session, not to guess the night before.
A simple goGLOW engagement photo timeline could look like this:
- Three to four weeks before photos: Book a trial spray tan and take quick photos at 24, 48, and 72 hours so you can see when your color looks best on camera.
- One week before photos: Confirm your outfits, makeup, jewelry, photo location, and preferred glow level. If you’re wearing white, cream, pastels, or anything strapless, mention that during your appointment so your specialist can plan your color and blending.
- One to three days before photos: Book your final spray tan. For most engagement pictures, day two is often the most natural-looking window because the color has developed, softened, and settled.
- The day before photos: Keep your skin hydrated, avoid exfoliating, skip heavy oils, and wear loose clothing so seams, straps, and waistbands do not create marks in your tan.
- The day of photos: Avoid last-minute self-tanner, heavy body lotion, long hot showers, and tight clothing before your session. Your goal is to keep your engagement photo spray tan smooth, even, and camera-ready.
- After the session: Save notes on your shade, timing, rinse window, and aftercare so you can repeat the same natural-looking glow for future wedding events.
For a fuller wedding-week plan, use The Ultimate goGLOW Bridal Guide alongside your engagement photo timeline.
Should You Get a Professional Spray Tan or DIY for Engagement Photos?
For most engagement shoots, a custom, hand-sprayed tan from a specialist is the lower-stress choice, especially if you’ll be in white or very light outfits. Professional custom spray tans provide the best photo results for engagement sessions, and that same logic carries over to other big day moments like a bridal shower or bachelorette party where photos matter just as much.
A professional can adjust formula, depth, and application for different areas, blend around strap marks, and soften any patchy previous self-tan so your hands, wrists, and décolletage look believable, not overdone. A subtle tan photographs better than a dramatic bronze or orange color, and choosing a shade that is 1–2 shades darker than your natural skin tone for photos tends to look like natural beauty rather than an obvious tan.
A DIY tanning kit, like goGLOW’s THE ICON KIT, can still work if you already have a favorite lotion or mousse, good bathroom lighting, and plenty of time to blend and dry.
In general, professional spray tanning is safer when you’re a beginner, nervous, on a tight timeline, or shooting in high-resolution close-ups, especially if your photos are the same week as your tan. Choosing a spray tan technician that is experienced to ensure an even application can make a huge difference in how natural your final color looks on camera.
At home makes more sense when you’re confident with self-tanner, want a very subtle change, or are topping up an existing professional tan.
Either way, the same principles apply: test ahead, keep the shade close to your natural tone, follow prep and aftercare closely, and build your plan around your shoot date, not the other way around. Consider doing a trial run of your spray tan at least 2-3 weeks before the shoot so you know exactly how your color develops and fades before it matters most. Exfoliate thoroughly before your spray tan appointment to remove dead skin cells, and wait at least 24 hours after shaving or waxing before getting a spray tan so your skin has time to settle. Avoid lotions and oils on the day of your spray tan, and once it’s on, wear loose, dark clothing after your spray tan to avoid rubbing off color.
Get a Camera-Ready Glow for Your Engagement Photos with goGLOW
Once your photographer is booked and your outfits are chosen, planning your glow is really about giving your future self one less thing to worry about. A little structure goes a long way: test a tan early, decide which day you like best on camera, then copy that timing for your actual engagement session so your skin looks like you, just a bit more rested.
Schedule your spray tan appointment 48 hours before your photo shoot for the best balance of color depth and a natural finish. That timing works well beyond engagement sessions too, since many couples use the same approach for bridal events leading up to the wedding itself.
If you’d rather not manage all of that alone, book a custom goGLOW appointment before your engagement photos.
Bring your usual foundation, outfit photos, jewelry details, and any notes from a trial tan so your specialist can tailor the depth, undertone, and timing to your skin and schedule.
With the right plan, your glow feels like one less thing to worry about, and when the camera comes out, you can focus on each other, feeling confident and ready for stunning photos that capture the moment exactly as it should look.