Planning a spray tan for a photoshoot takes a little more care than preparing for an everyday event. High-resolution cameras, studio lighting, close-ups, and post-production can make differences in depth, undertone, dryness, and preparation more noticeable than they appear in the mirror.
The good news is that camera-ready color does not need to feel complicated.
For many clients, the most reliable approach is to schedule the appointment a few days before the photo shoot, follow the rinse instructions for the selected service, and choose a customized result that still looks natural on camera.
This guide can give you both the quick answers you want and the useful details you need on why skin prep for a spray tan before a professional photo session should be taken seriously, key steps to take, and how natural skin tone, lighting conditions, and other crucial considerations everyone involved shouldn’t ignore.
Why a Spray Tan Can Look Different on Camera
A camera can reveal variations in color and texture that are less noticeable in person, especially compared to those moments right after an airbrush spray tan session.
High-resolution images may make dry areas, friction points, undertone differences, or uneven fading more visible, especially around the hands, feet, elbows, knees, face, and areas covered by tight clothing.
It also helps to understand the difference between the cosmetic bronzer and the fully developed sunless tan.
The bronzer provides immediate guide color for both the specialists and the client while applying the spray tan and is removed during the recommended first rinse. The developed color continues to settle according to the selected service and the timing provided by your specialist.
For that reason, a photo shoot should usually take place after the appropriate rinse and development period, rather than while the initial bronzer is still on the skin.
| Approach | Primary consideration | Photoshoot planning |
| Everyday sunless tan | Natural-looking color for regular wear or an event | Timing and customization still matter, but close-up photography may require additional planning |
| Camera-ready sunless tan | Consistent-looking color across lighting, lenses, and framing | Plan the rinse window, development time, desired finish, and visible areas with the shoot in mind |
| UV tanning beds | Uses ultraviolet exposure rather than a sunless application | Texture, redness, and long-term skin impact |
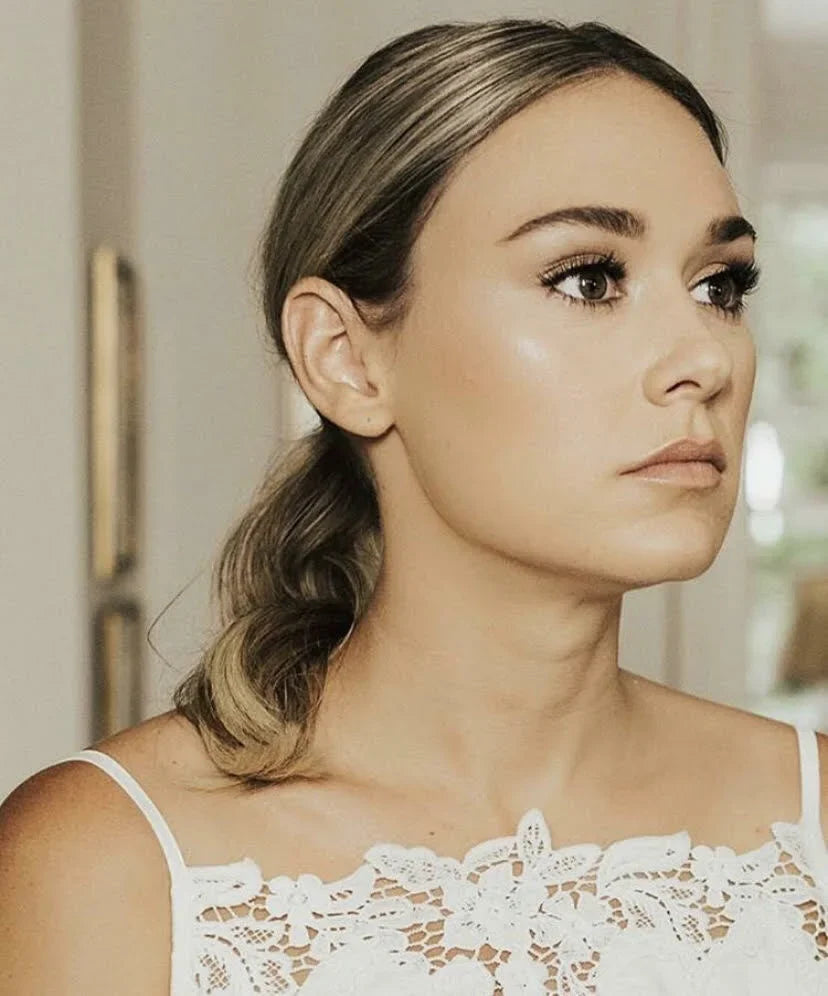
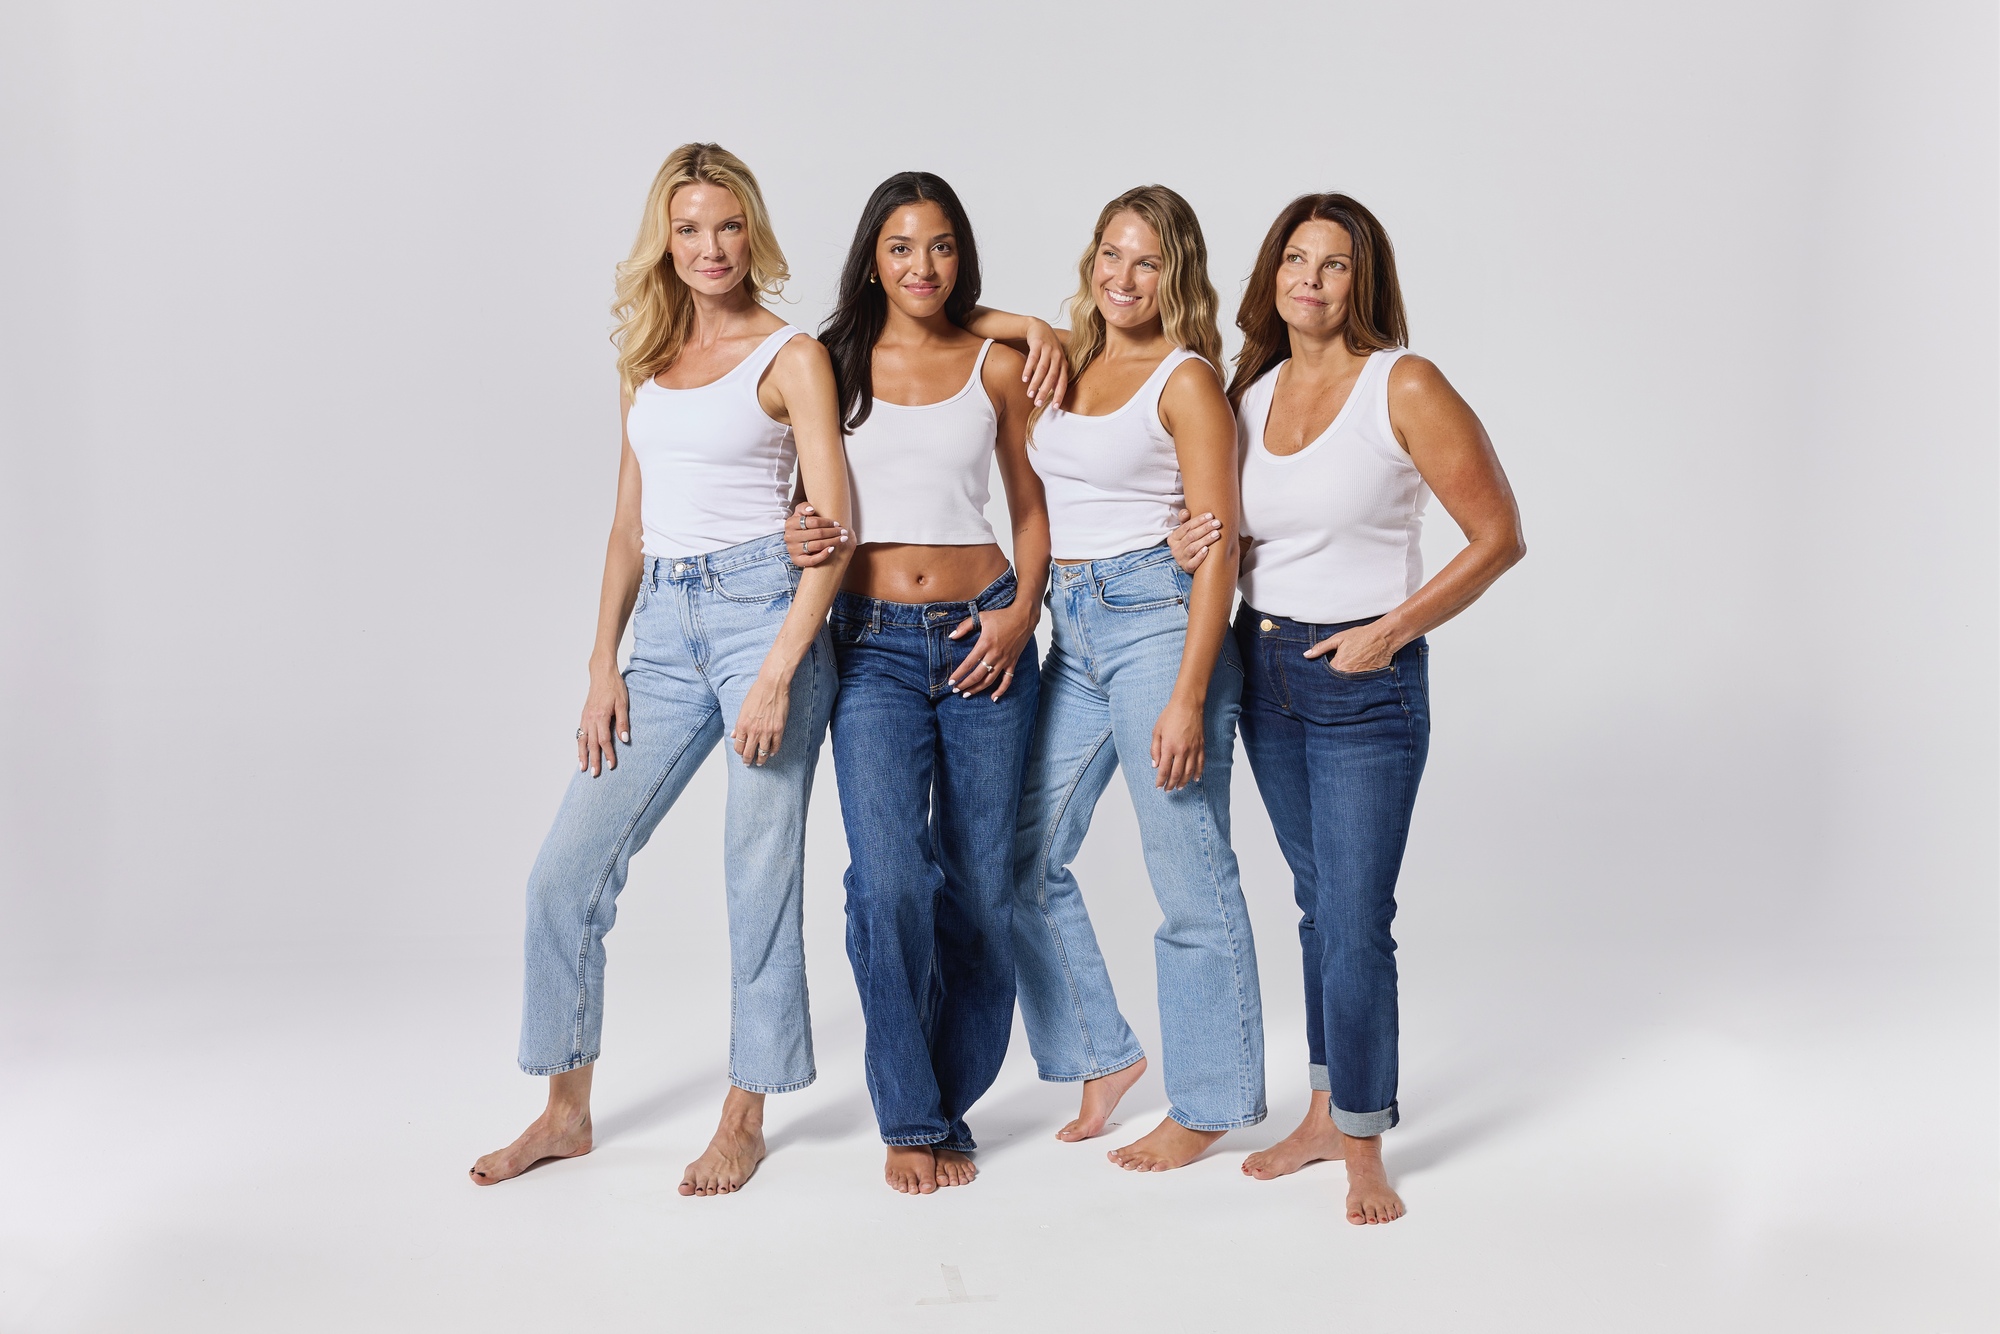
For photography, the spray tan color should support the person’s natural skin types, tone, and features rather than becoming the first thing viewers notice.
When Should You Get a Spray Tan for a Photoshoot?
Quick answer: For many clients, the best time to schedule a spray tan for a photoshoot is 24–48 hours before the shoot. This allows for adequate skin prep, including exfoliation and moisturization, as well as the recommended first rinse and continued color development. Your ideal timing may vary based on the spray tanning service, desired depth, skin type, travel plans, wardrobe, and production schedule.
Use these spray tan tips and preparation checkpoints to help ensure a smooth, camera-ready application:
- Single goGLOW: Rinse after 12–24 hours, based on your specialist’s instructions, using appropriate moisturizers.
- Rapid goGLOW: Rinse after approximately 3–5 hours, depending on the desired depth. The color continues developing post-rinse.
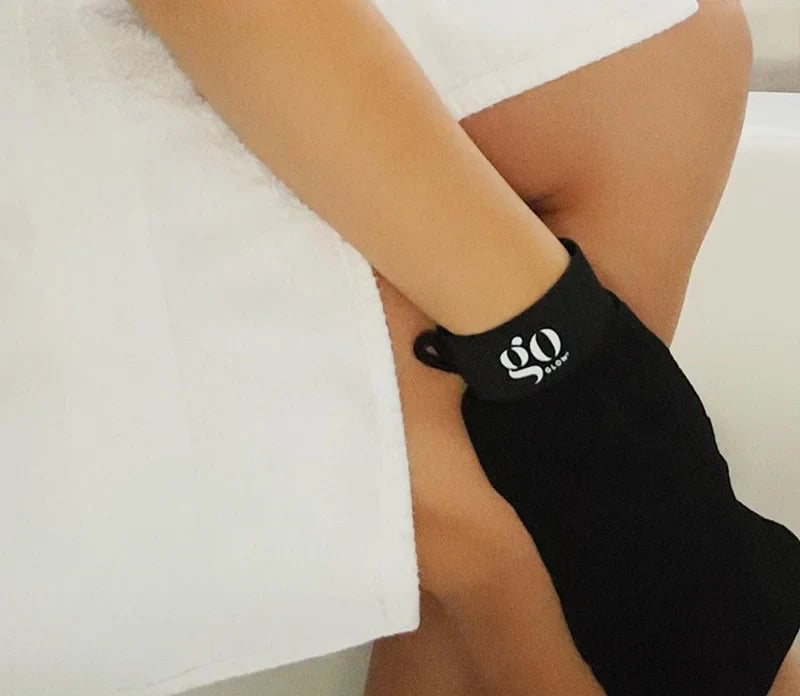
- Before your appointment: Exfoliate your skin using an exfoliating mitt, like goGLOW’s EXFOLIATE, and avoid body scrub to remove dead skin cells. This way, you ensure a smooth surface for tanning solutions. Complete shaving, waxing, and other beauty services at least a day before.
- While the tan develops: Avoid water, sweat, tight clothing, and unnecessary friction to maintain even skin tone.
When booking your spray tan, share the photoshoot date, lighting conditions, wardrobe, and rehearsals so the tanning experts can recommend the right appointment window.
Whenever possible, avoid booking your tan on the morning of the shoot. A fully rinsed and developed tan is generally more predictable under studio lights and can enhance features like muscle definition in fitness photo shoots and rapid goGLOWs, although you rinse in 3-5 hours, do not stop developing for 24 hrs. This reduces stress in finalizing professional photos and professional headshots, making them camera-ready.
How Lighting and Camera Settings Affect Your Spray Tan
Lighting, camera profiles, and skin tone can all affect how warmth and depth appear in the final image.
A color that looks balanced in natural light may read differently under warm indoor professional lighting, cool LEDs, flash, or a high-contrast edit.
Hard light, sharpening, and contrast can also make dryness and uneven skin texture more noticeable, especially if proper exfoliation hasn’t been achieved before the application.
Mixed lighting, such as window light combined with overhead fixtures, may create additional variation across the face and body.
Before the photoshoot, keep a few tips in mind:
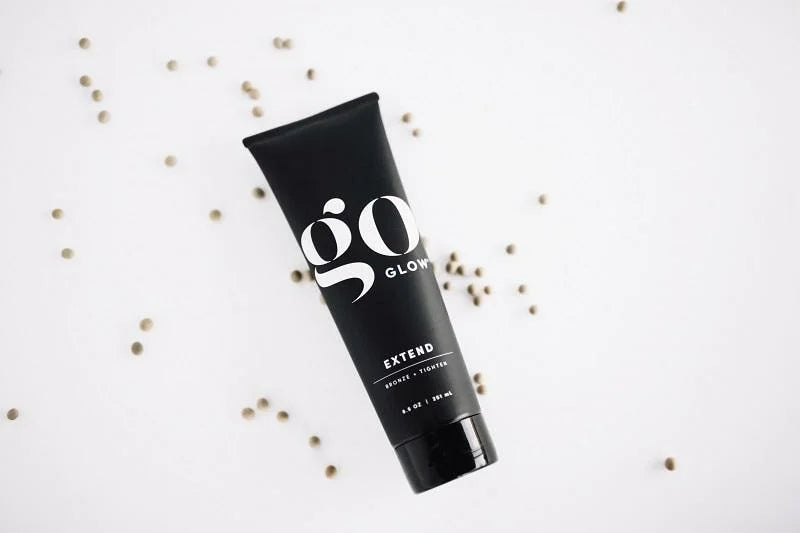
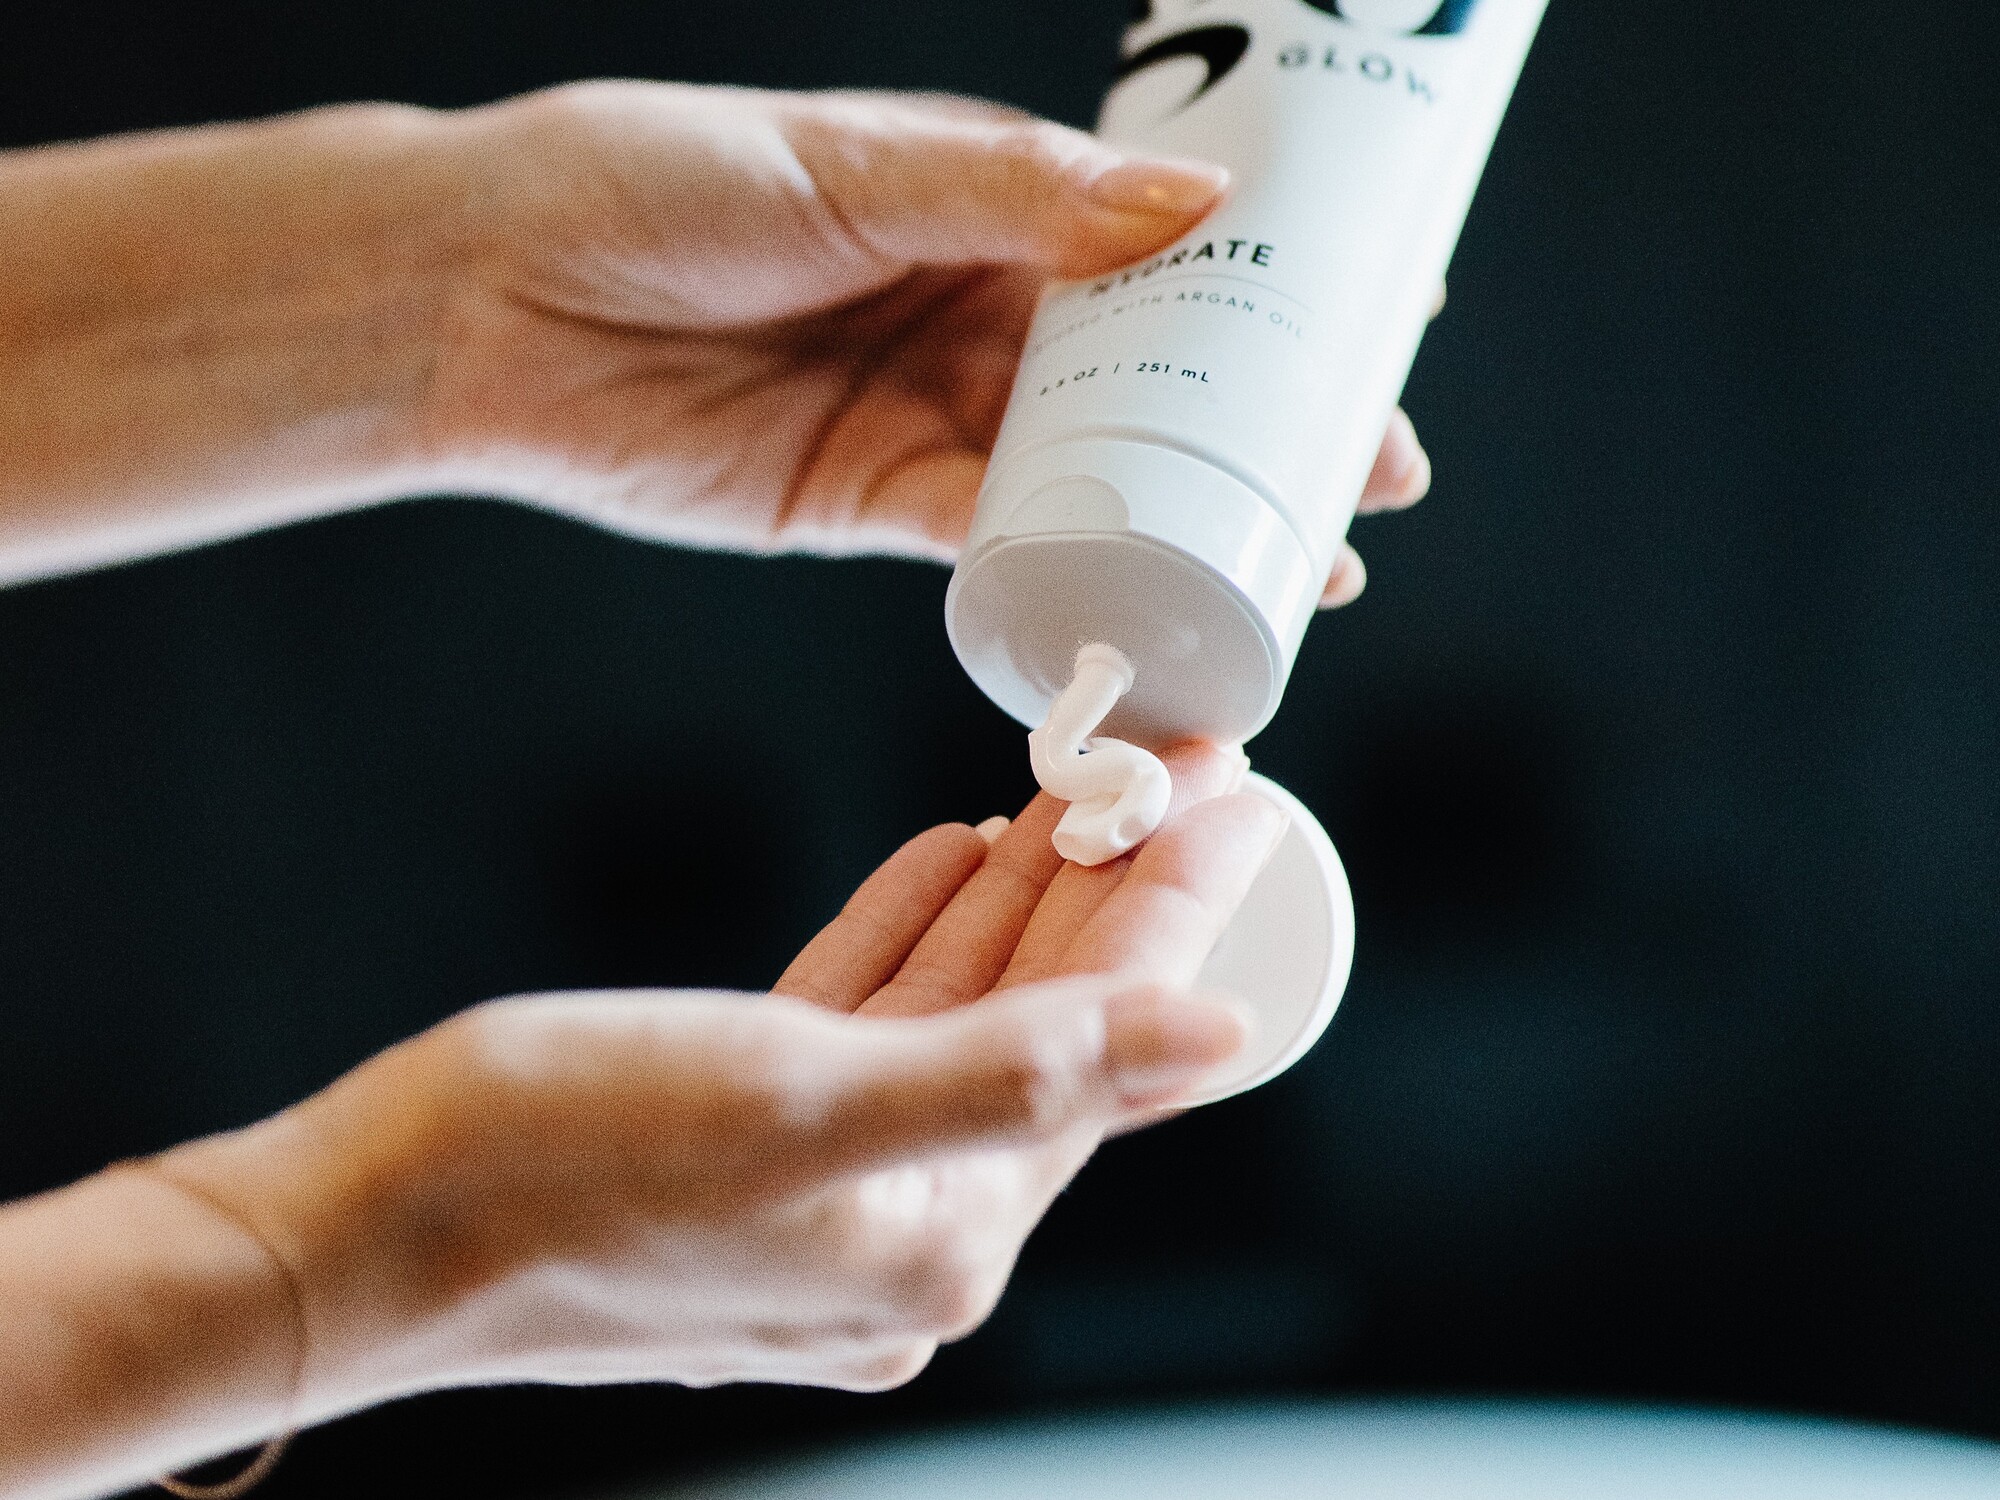
- Keep your skin hydrated with goGLOW HYDRATE.
- Share the planned lighting environment with your spray tanning experts when you know it in advance.
- Mention whether the shoot will use daylight, studio flash, or a mix of warm indoor lighting and cool LEDs.
- Ask the photographer to review a quick test frame with you before the full session begins.
- Check the face, neck, chest, hands, and feet; they should be consistent and well-blended before moving into close-ups.
- Consider using hypoallergenic or organic tanning solutions for sensitive skin types.
A brief test frame gives the photographer, makeup artist, and talent an opportunity to make small adjustments before the full session begins.
This preparation and the right aftercare, like moisturizing with goGLOW HYDRATE and avoiding tight clothing, ensure your spray tan maintains its consistency and enhances your professional photos and headshots.
Choosing Depth and Undertone That Look Natural on Camera
Camera-ready color should support your natural features, not overpower them. The right depth and undertone depend on your skin tone, lighting, wardrobe, makeup, desired finish, and how the final images will be edited.
Warm, cool, and neutral undertones can each appear differently under daylight, studio lighting, flash, and color grading.
Rather than choosing an undertone based on a universal rule, share the production details with your goGLOW specialist so the application can be customized around your skin and the intended result.
Helpful details include:
- Inspiration images that show the overall finish you prefer
- Where the photos or video will appear
- Whether the shoot includes flash, close-ups, mixed lighting, or significant color grading
- Visible areas such as the face, hands, feet, shoulders, back, or décolleté
For high-resolution work, a softer application may be appropriate on areas that receive extra attention on camera, including the face, hands, and feet.
For an important session or a new creative direction, consider a low-pressure test tan.
Review a few images under the planned lighting with your photographer and sunless tanning specialist, then use those results to guide future shoots.
How Should You Prepare Your Skin Before a Photo Shoot Tan?
Skin preparation helps the sunless tanning solution apply more evenly, particularly on areas that may appear prominently in close-ups, such as the face, chest, shoulders, arms, legs, hands, and feet.
The goal is not perfect skin. It is clean, gently exfoliated, well-cared-for skin that gives your specialist a more consistent surface to work with.
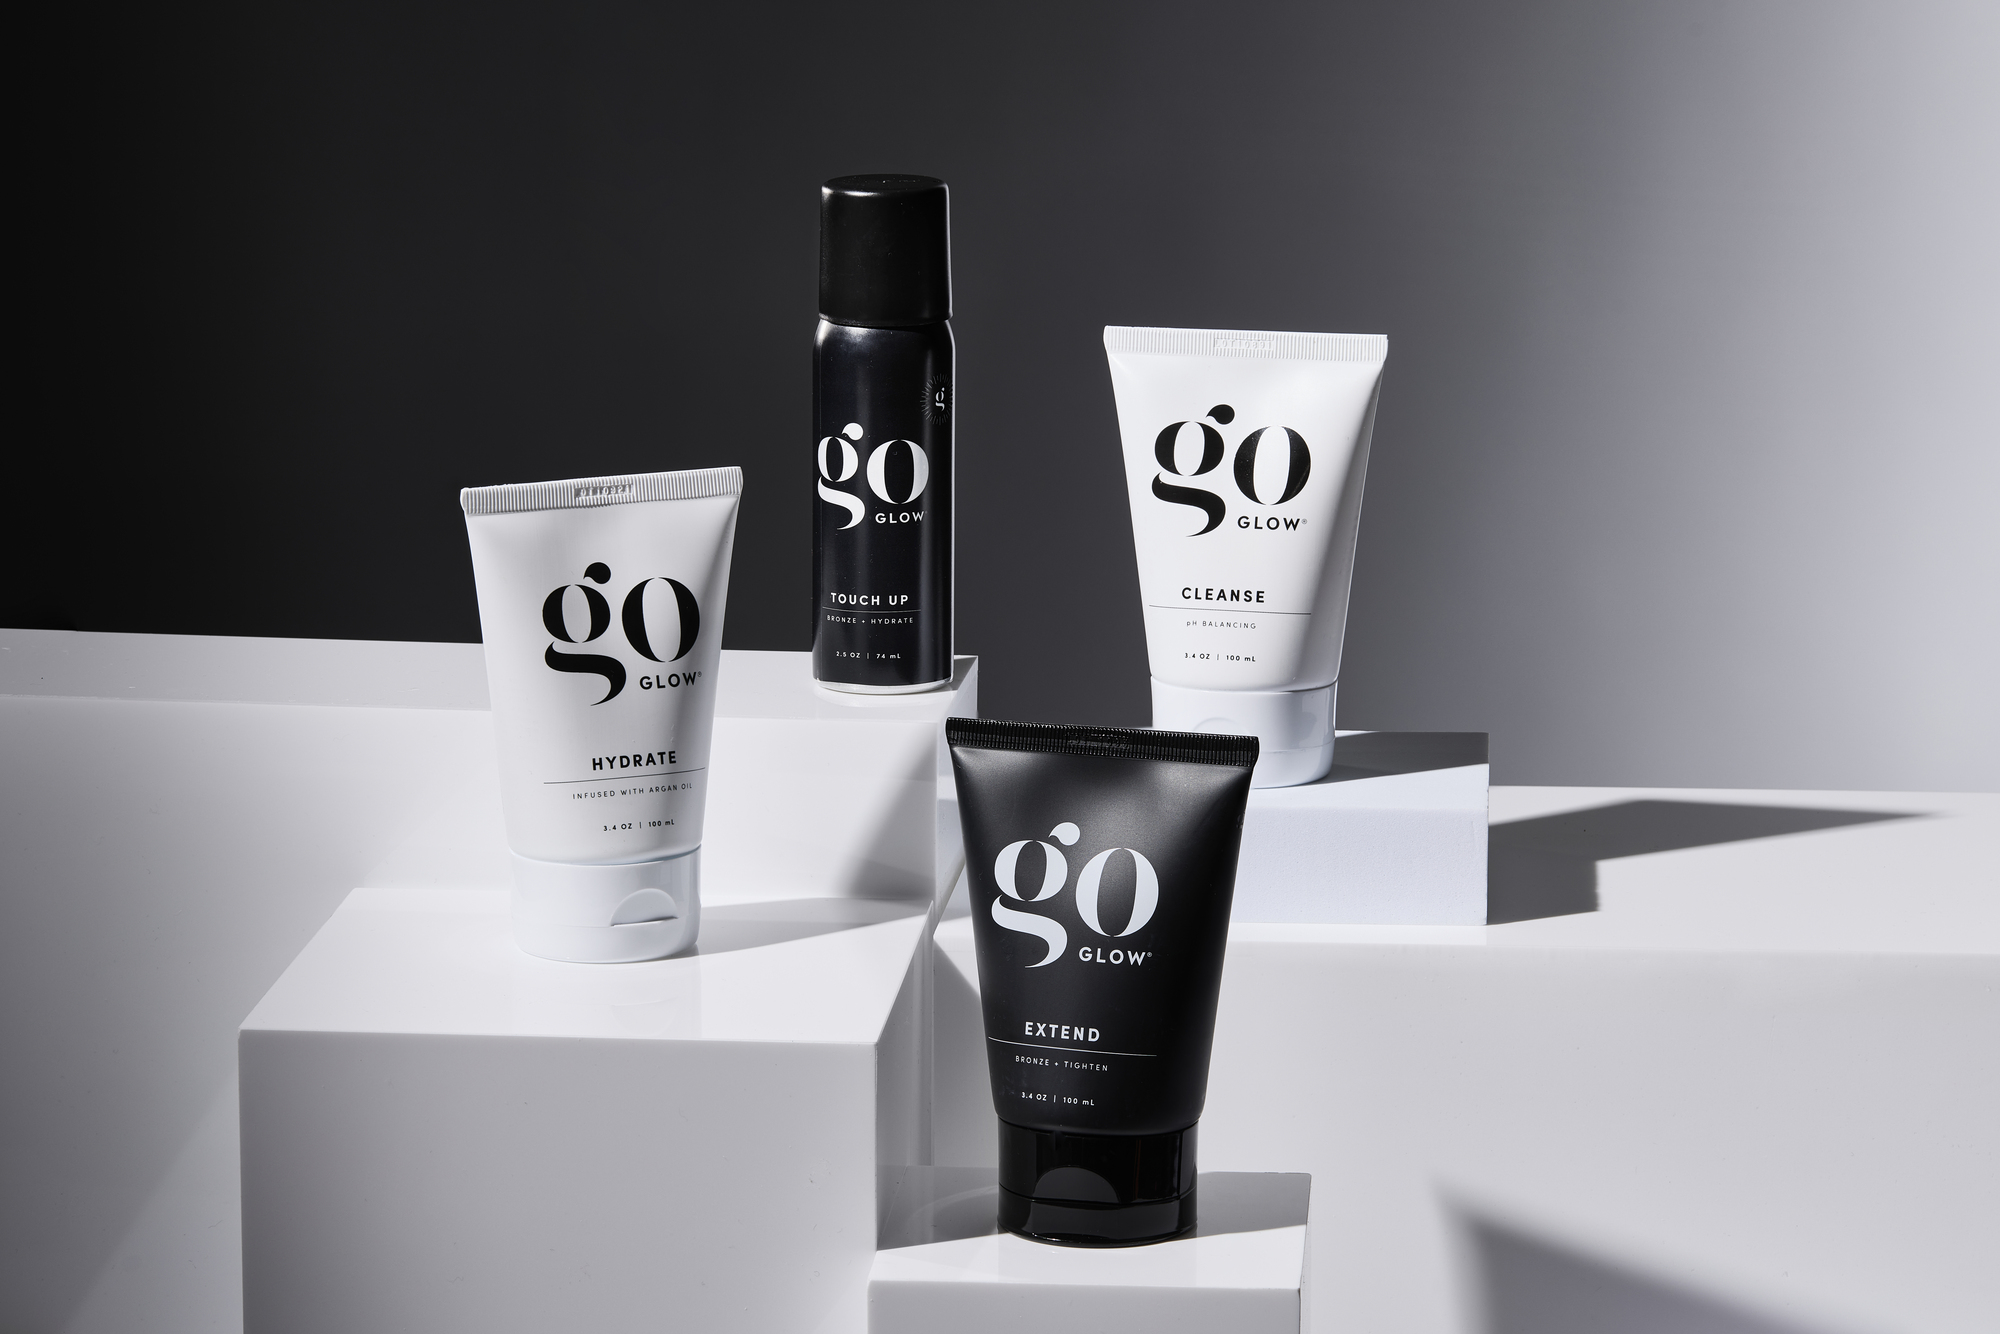
goGLOW’s skin-first routine may include the EXFOLIATE Mitt before the appointment and products such as CLEANSE and HYDRATE as part of an ongoing preparation and maintenance routine. Follow your specialist’s timing instructions so that no product interferes with the application.
A repeatable preparation routine looks like this:
- About 24-48 hours before the appointment: Gently exfoliate with the EXFOLIATE Mitt, paying attention to elbows, knees, ankles, hands, feet, and any remaining sunless color.
- Before the appointment: Complete shaving or waxing early enough for the skin to settle. Avoid introducing a harsh or unfamiliar exfoliating product immediately before the service.
- On the day of the appointment: Arrive with clean, dry skin unless your specialist provides different instructions. Avoid makeup, deodorant, perfume, oils, and heavy lotion.
- After the appointment: Wear loose clothing and follow the exact rinse instructions for the selected goGLOW service. Avoid water, sweat, tight straps, and friction while the color develops.
- After the first rinse: Pat the skin dry and follow the recommended hydration routine to support an even-looking fade with goGLOW HYDRATE.
A consistent preparation routine can support more even-looking color and a smoother result on camera.
How You Should Prepare Your Skin Before a Photo Shoot Spray Tan
Proper preparation is crucial for achieving the best results from your spray tan, especially when preparing for a photoshoot. Ensuring your skin is ready helps the tanning solution apply more evenly, particularly on areas that may appear prominently in close-ups, such as the face, chest, shoulders, arms, legs, hands, and feet.
The goal is not perfect skin, but that it’s clean, exfoliated, well-cared-for skin that provides a more consistent surface for the application of the tanning solutions. A good preparation routine, recommended by tanning experts, often includes steps to exfoliate and moisturize your skin.
goGLOW’s skin-first routine includes the EXFOLIATE Mitt before the appointment and products such as CLEANSE and HYDRATE as part of an ongoing preparation and maintenance routine. Follow your specialist’s timing instructions so that no product interferes with the application.
Here’s a preparation routine that can help enhance the appearance of muscle definition and skin tone under studio lights:
- About 24-48 hours before the appointment: Gently exfoliate your skin using the EXFOLIATE Mitt, focusing on elbows, knees, ankles, hands, feet, and any remaining self-tanner. This removes dead skin cells, providing a smooth surface for the application.
- Before the appointment: Complete shaving or waxing early enough to allow the skin to settle. Avoid introducing any new exfoliant or harsh product immediately prior to your spray tanning session.
- On the day of the appointment: Arrive with clean, dry skin and avoid wearing makeup, deodorant, perfume, oils, and heavy lotion unless instructed otherwise by your specialist. This will prevent any barriers to the tanning solution.
- After the appointment: Wear loose clothing and follow the exact timing for the first rinse as instructed by your goGLOW service. It’s essential to avoid water, sweat, and friction while the color develops.
- After the first rinse: Pat the skin dry and follow the recommended aftercare routine to keep the color even, including regular moisturizing with suitable moisturizers. This helps prolong the tan and ensures that it fades evenly on-camera.
Consistent skin preparation and aftercare can support an even-looking color and enhance your appearance, especially important for professional photos and headshots. Proper hydration and care help maintain the spray tan’s integrity, ensuring a flawless finish for your photoshoot.
How Photographers, Creators, and Models Can Keep Skin Tone Consistent
Consistent on-camera color works best when photographers, creators, models, and sunless tanning specialists plan together before the shoot day.
Photographers and producers can share the lighting setup, wardrobe, visible areas, and desired finish. Models can provide the shoot date, call time, recent skin care or beauty services, and any scheduling details that may affect the rinse and development window.
A mood board can help communicate the intended look without asking the model to choose a shade or undertone on their own.
Before the full session begins, capture a quick reference frame under the final lighting and flag any visible inconsistencies on the monitor. For recurring shoots, keep a simple record of the service, timing, preparation routine, lighting, and camera setup that produced the best result.
The Spray Tan Mistakes That Cause the Biggest Problems on Set
Most preventable sunless tanning concerns on set are connected to timing, preparation, friction, or a mismatch between the planned result and the production environment, not “bad skin.”
Watch for:
- An appointment that is scheduled too close to the shoot for the selected service and rinse window
- Cosmetic bronzer that has not been rinsed according to the specialist’s instructions
- Hands, feet, wrists, or ankles that appear noticeably deeper than the surrounding areas
- A face, neck, and chest that do not read consistently under the planned lighting
- Friction caused by tight wardrobe pieces, socks, straps, or travel
- A last-minute self-tanning or touch-up product that has not been tested on camera
If an issue appears on screen:
- Review the skin under the final lighting and camera settings before making broad color corrections.
- Ask the makeup artist to address minor visible differences with products appropriate for the shoot.
- Avoid applying an unfamiliar self-tanning product as a last-minute correction.
- If the rinse timing or developed color is unclear, contact the sunless tanning specialist before changing the routine.
- Adjust framing, lighting, makeup, or wardrobe thoughtfully rather than overcorrecting the entire image.
If the client experiences irritation, discomfort, or another unexpected skin concern, stop cosmetic adjustments and seek appropriate professional guidance.
A Simple Camera-Ready Spray Tan Timeline
The right schedule depends on the client, the selected service, and the demands of the shoot. Use these scenarios as a starting point, then adjust the plan with your goGLOW specialist:
- First-time client or new creative direction: Schedule a low-pressure test before the main campaign or event.
- Single-day photo shoot: When possible, book the main appointment one to two days before that family portrait, maternity session, wedding shoots, or any other single-day event, and follow the service-specific rinse instructions.
- Frequent on-camera talent: Plan repeat appointments around how the color fades on the individual and the production calendar.
- Bridal or engagement pictures and major launches: Consider a trial tan two to three weeks in advance, especially for first-time clients, visible tan lines, or a new creative direction.
- Multi-day or mixed-lighting campaigns: When feasible, review a test frame under the primary lighting setups before finalizing the look.
- Recurring content or e-commerce work: Keep notes on the service, timing, desired finish, lighting, and final images so the process can be refined over time.
The goal is not to use the same formula for every shoot. It is to create a familiar planning process that can be customized each time.
How goGLOW Customizes a Camera-Ready Sunless Tan
A camera-ready result begins with more than choosing a light, medium, or dark shade.
Each goGLOW service includes a custom color consultation so the specialist can consider the client’s natural coloring, preferences, schedule, and desired finish before the application begins.
The goGLOW process also includes a pH-balancing spray before the customized application and a moisture-locking finishing spray afterward.
Depending on the timing of the photo shoot, your specialist can help you choose between a rapid and a traditional spray tan and explain the correct rinse window for that service.
Sharing the shoot date, lighting environment, wardrobe, visible areas, and inspiration images during the consultation gives your specialist useful context while keeping your skin and preferences at the center of the decision.
Plan Your Spray Tan for a Photoshoot with goGLOW
Preparing for a photo shoot already involves enough moving pieces. Your sunless tan should feel like a planned part of the process, not another source of uncertainty.
Clear timing, thoughtful skin preparation, and a customized consultation can help the color work more naturally with the lighting, wardrobe, makeup, and final edit.
Before booking, gather the photoshoot date, approximate call time, lighting details, visible wardrobe areas, intended image style, and one or two inspiration images. A goGLOW specialist can use that information alongside your skin tone, preferences, and schedule to recommend the appropriate service and rinse plan.
Find your nearest goGLOW location and book a custom consultation before your next photo shoot.